Access Your Raspberry Pi Remotely: The Ultimate Guide!
Can you truly harness the power of your Raspberry Pi from anywhere in the world, with just a browser and an internet connection? The answer is a resounding yes, and the possibilities for remote control and monitoring are more accessible and versatile than ever before.
The modern landscape of technology demands constant accessibility. Whether you're a hobbyist tinkering with a home automation project, a developer managing a fleet of IoT devices, or a business owner needing to remotely oversee operations, the ability to interact with your Raspberry Pi from a distance is no longer a futuristic concept, but a practical necessity. The Remote IoT (Internet of Things) platform, when combined with the power of the Raspberry Pi, offers a robust and cost-effective solution to this growing need.
At the heart of this remote accessibility lies the capability to establish a secure connection to your Raspberry Pi, bypassing the complexities of firewalls and network configurations. By leveraging web-based SSH (Secure Shell) clients, users can access a standard terminal emulator directly within their web browser, creating a seamless user experience. This web console essentially mirrors the functionality of a local terminal, enabling you to execute commands, manage files, and troubleshoot issues on your Raspberry Pi as if you were sitting right in front of it. This is particularly useful for situations when physical access is impractical, or when you need to monitor and maintain your devices remotely.
Imagine the convenience of remotely accessing your Raspberry Pi from your PC browser or even your mobile device. With the right setup, you can connect from anywhere. The remoteiot portal provides a user-friendly dashboard, and once logged in, your Raspberry Pi will be displayed among your account devices. This offers the convenience of monitoring and managing all of your remote devices, all from a single access point.
To implement this functionality, you'll first need to enable SSH on your Raspberry Pi. This involves a few simple steps within the Raspberry Pi configuration tool. Once SSH is enabled, your Raspberry Pi is ready to accept incoming connections. Then, by installing and configuring the remoteiot service, you can seamlessly integrate your Raspberry Pi with the Remote IoT platform.
The beauty of this approach lies in its simplicity. You don't need to discover the IP address of your IoT device and change any complex firewall settings. You can connect directly, as if it were on your local network. Whether you need to access a Raspberry Pi behind a firewall or a NAT (Network Address Translation) router, the Remote IoT platform provides a straightforward way to connect. This dramatically simplifies the setup process, making it accessible to both technical and non-technical users.
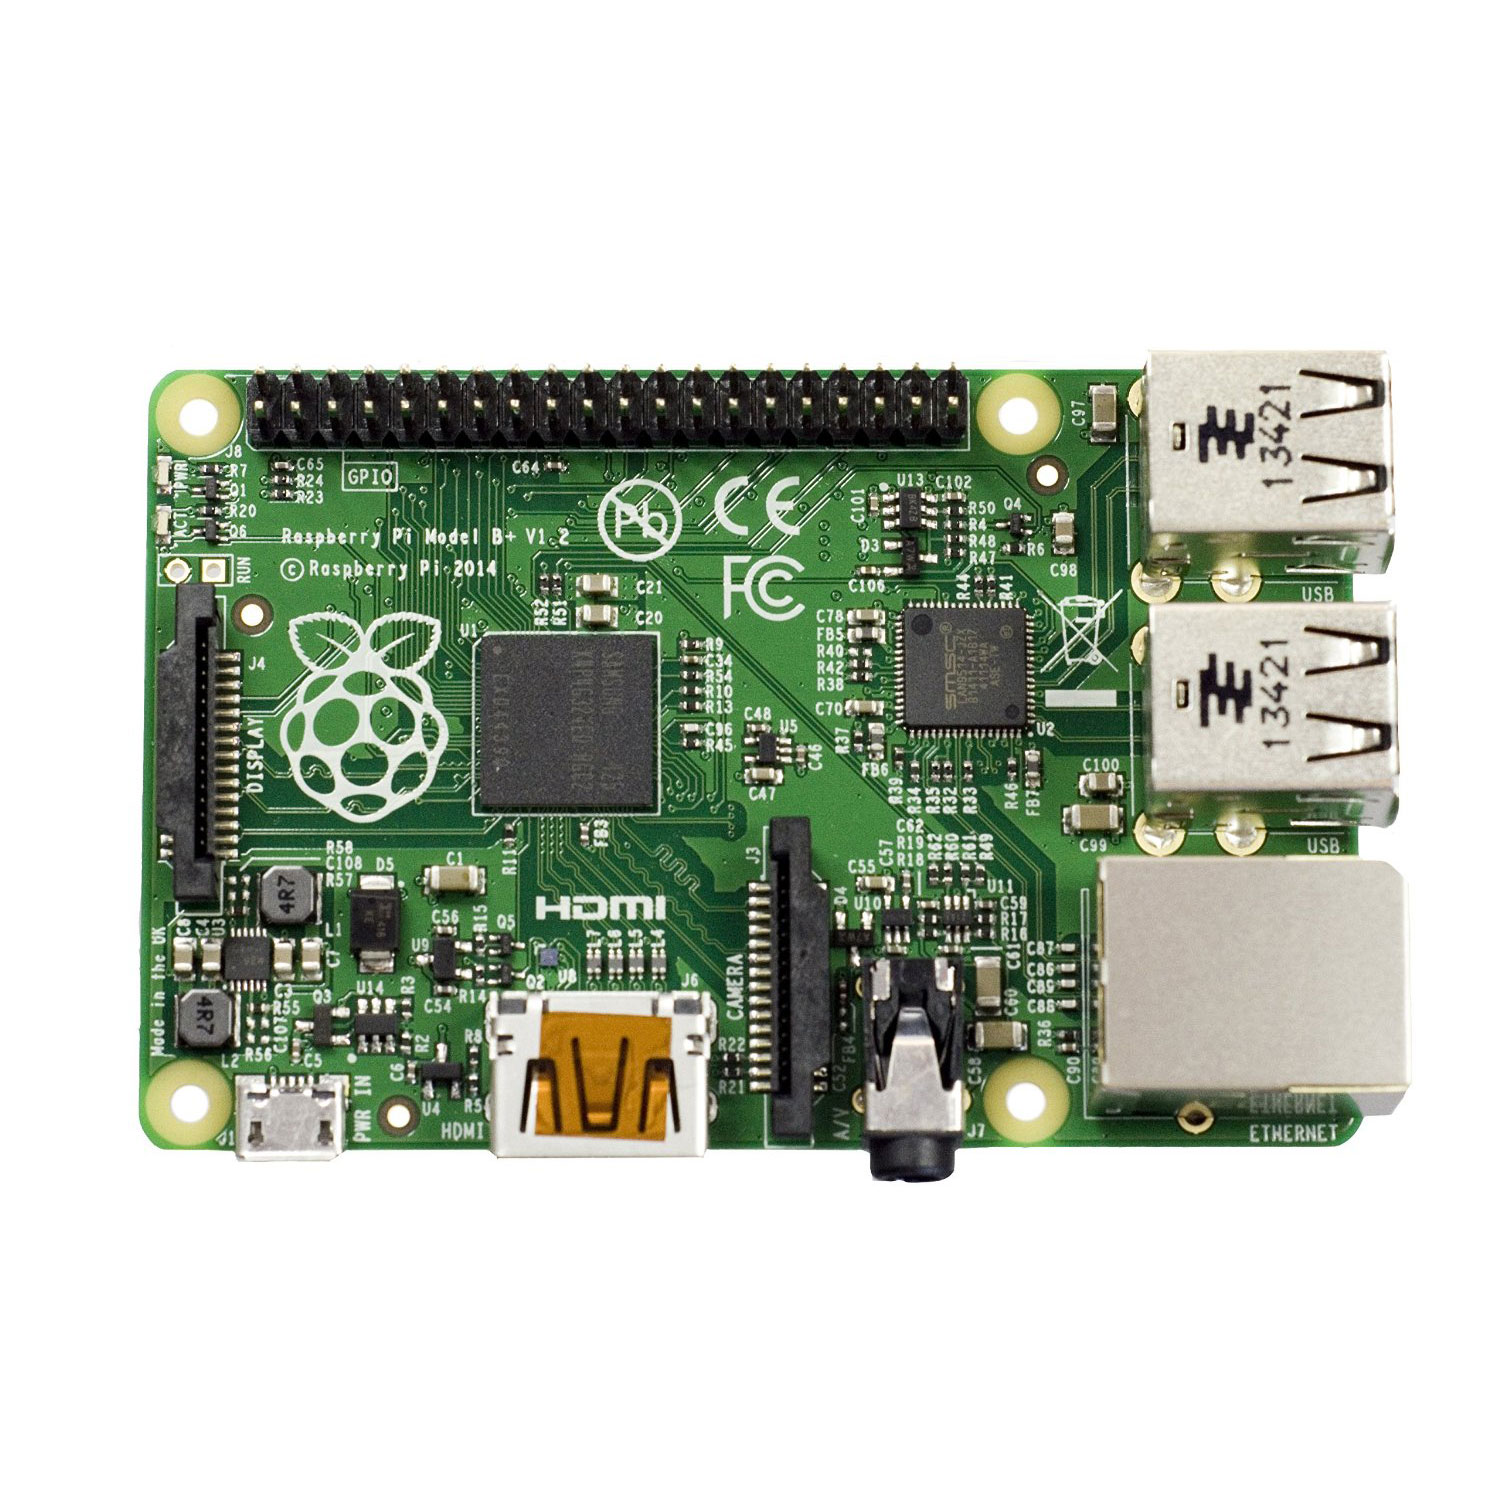
The Raspberry Pi, due to its compact size, low cost, and versatility, is an ideal platform for deploying remote IoT applications. Its ability to function as a web server, combined with its GPIO (General Purpose Input/Output) pins, allows for the creation of a wide range of applications. Examples include, environmental monitoring, home automation, and remote data logging. The setup is very straight forward, and the Remote IoT platform enhances its capabilities.
The benefits of this setup are not just limited to convenience. It's also about enhanced security and streamlined management. Using a secure remote access solution for your Raspberry Pi OS helps ensure that your data and your device are protected from unauthorized access. The remoteiot platform can monitor and detect problems and help to troubleshoot and maintain the device remotely. With a remote access solution, you can connect to any device or machine behind firewalls, adding another layer of flexibility.
Moreover, the Remote IoT platform offers features like over-the-air (OTA) updates. This allows you to update the software on your Raspberry Pi remotely, ensuring that your devices are always running the latest versions of the software and are secured against vulnerabilities. Socketxp IoT cloud platform, for example, can easily support a very large number of devices per customer account, making it an ideal choice for businesses with large deployments of Raspberry Pi devices. This scalability is critical for businesses looking to expand their IoT deployments.
The setup process generally involves setting up your Raspberry Pi. You will need to download and install the appropriate OS onto your SD card. After this you will need to connect your Raspberry Pi to a monitor, a keyboard and a mouse to finish the basic setup. Now you can enable SSH to allow your Raspberry Pi to accept incoming remote connections.
For amateur radio enthusiasts, a simple web application hosted on a Raspberry Pi can revolutionize remote operation. The Raspberry Pi's ethernet port can connect to any open LAN port on the router, eliminating the need for additional software like Mumble or Skype. It is a plug-and-play network setup, which requires no dedicated PC at the station and operates on a low internet bandwidth, approximately 80 kbps (0.08 m) max. This translates to a cost-effective, high-performance computing platform for both businesses and the home.
In essence, this technology offers a gateway to remotely control and monitor your devices securely from anywhere. When paired with Android, it opens up endless possibilities for remote control and automation. It is an essential tool for anyone who needs to manage their Raspberry Pi from a distance.
Let's delve deeper into the core components and considerations when implementing a remote access solution for your Raspberry Pi:
| Aspect | Details |
|---|---|
| Hardware | Raspberry Pi (any model), microSD card, power supply, network cable (Ethernet) or Wi-Fi adapter. |
| Software | Raspberry Pi OS (formerly Raspbian), remoteiot service, web browser, optionally, a terminal emulator (if not using the web-based SSH client). |
| Network Configuration | Ensure the Raspberry Pi is connected to the internet (either via Ethernet or Wi-Fi). Note the Raspberry Pi's IP address. If you have a dynamic IP, consider using a dynamic DNS service to make it easier to connect. |
| Security | Use strong, unique passwords for both your Raspberry Pi and your remoteiot account. Keep your Raspberry Pi's software up to date. Consider using two-factor authentication for added security. Firewall rules should be carefully configured, restricting access to only the necessary ports. |
| Installation Steps | 1. Flash Raspberry Pi OS to the microSD card. 2. Insert the microSD card into the Raspberry Pi and connect to a monitor, keyboard, and mouse. 3. Connect the Raspberry Pi to your network. 4. Enable SSH via the Raspberry Pi Configuration tool or through the command line. 5. Install and configure the remoteiot service. 6. Access the remoteiot portal through your browser and log in. |
| Alternatives | TeamViewer is another alternative for accessing your Raspberry Pi's desktop remotely. Octoprint provides a web interface for controlling 3D printers. |
Beyond the technical aspects, the choice of remote access solution should align with your specific needs. For example, if you primarily need to access the command line interface, a web-based SSH client will suffice. If you need to remotely view the desktop, you can use VNC (Virtual Network Computing) software to connect to the desktop. If you are managing a large number of devices, the Remote IoT platform or a similar device management platform, could be the most efficient solution.
Ultimately, the ability to remotely access and manage your Raspberry Pi is a critical skill. By adopting this technology, you are not just increasing convenience but also improving your ability to respond to and resolve issues quickly. This ability contributes to the effectiveness and efficiency of your projects.


